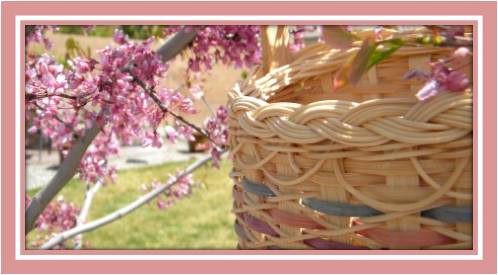
I try really hard to complete weaving a basket in just one sitting. Sometimes though, that just isn't possible. I want to give you a few tips on where to stop if you are working on a large project and need to pause so you can cook dinner for the family.
If it is a large project, one stage you can do is read through your pattern, gather your supplies and cut your stakes. Of course you can stop at this point. I like to have all my supplies gathered together because it is frustrating to have to get up and down because I've forgotten something.
Is your basket being woven in all natural reed? If so, and if there are no wooden parts then you can stop at most any time during your project and just resoak it when you are ready to begin again.
If you have wooden parts on your basket such as a wooden base or a wooden handle, you shouldn't even dip those in water. Some wooden handles are held together with glue and the water could affect the stick-um power of the glue. Some handles are steamed into their shape and water could cause them to relax and straighten back out. Of course they may get slightly damp from using wet reed and that cannot be helped, I'm just saying don't dip them in water. So that said, when you start weaving, it is best to weave up to the top of your basket and get your stakes cut and tucked. You can always put the rim on during your next basket weaving session.
If you have used some dyed reed in your project, you should either stop before incorporating the dyed reed on your project, or again weave to the top and do your cutting and tucking. If you need to re-soak your reed later you strongly risk your dyed reed bleeding onto natural reed. Spend a minute really shaping your basket at this point so that when you come back to lash the rim on, your basket will be shaped properly.
If you are doing a braided rim and the basket is in natural, I like to get my round reed in place before pausing.
What happens when.....your child requires that horrible trip to the emergency room when you just have to drop everything? Well, things like this can happen and you have no control of when to stop working at a convenient place. (Seriously though, let's hope that never happens!) What I would do is when I return; I'd mist the reed lightly with a water bottle and work on shaping the basket the best I could. I'd continue weaving up the sides and again mist the reed where it gets cut and tucked. Have a paper towel handy to wipe off excessive drips. By only misting and using a towel to wipe drips you will decrease your chances of the dyed reed bleeding onto the natural reed. When you tuck in your stakes, you may have more cracking and splintering than usual, but...this is just one of those times where that cannot be helped. The cracking and splintering will be hidden by the rim and rim filler.
I hope this gives you some suggestions when to pause your weaving should you need to . Of course, in all instances, it is ideal to go from beginning to the finished project in one session.
Happy Weaving,
Nancy


2 comments:
Great post!
Lots of great information! I've found that my thin, oversized kitchen towels can be dipped in water, twisted a bit to keep the layers partially together, and draped on the upper edge to soften it for tucking.
Post a Comment