

 Dear Friends,
Here is the written pattern for the berry basket. You can do this basket by following step-by-step through the videos. If you look on the left hand sidebar of my blog, scroll down to my "Learn to Weave" video section. Look for the videos for BERRY BASKET. They start with the one for "Round Basket Base - Berry Basket". Then just go down the video list in order to weave this basket with the videos.
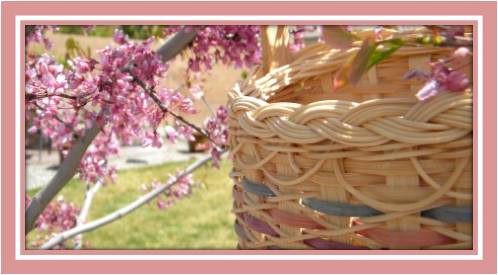
Berry Basket
Pattern Written by Nancy Jacobs
Supplies:
- 5/8" flat reed
- 3/8" flat reed
- 1/4" flat reed
- 11/64" flat reed
- 1/2" flat/oval reed
- 11/64" flat/oval reed
- #3 round reed
- Seagrass
Directions
- Cut your spokes from 5/8" flat reed. Cut 7 spokes at 18" and 1 spoke at 50"(The 50" piece will form your handle). Mark the centers of your spokes on the rough side.
- With rough sides up, lay the 50" piece on the bottom and three of the 18" pieces matching the centers to start the base. It should look like the spokes on a bicycle wheel. Space them apart evenly.
- Twine with #3 round reed until the diameter of the base is 5 1/2". Incorporate the four remaining spokes and twine for a couple more rows or until the base is 6".
- Upset the spokes.
- Using basic over-under weaving for the sides of the basket weave in the following order: Rows 1 and 2 weave 3/8" flat. Rows 3 through 11 weave 11/64" flat (I used dyed reed). Rows 12 through 14 weave 3/8" flat.
- ATTENTION, PLEASE READ BEFORE GOING ANY FURTHER. DO NOT CUT YOUR 50" PIECE HERE. It is time to cut and tuck your spokes. You will be cutting the inside spokes and tucking the outside spokes. Even if your handle ended up as an inside spoke, do NOT cut it. Just cut and tuck the other short spokes.
- Cut a handle filler from 5/8" flat reed 15" long
- Tuck the handles into the basket on the opposite side to your desired length. They will loop over each other to make a double thickness. Sandwich the handle filler between the 50" pieces to again increase the strength of the handle. This now makes a triple thickness for the handle.
- Position a rim from 1/2" flat/oval reed on the inside and outside of your top row of weaving. Sandwich a piece of seagrass between the rim pieces. You may taper the ends of the 1/2" flat/oval if desired to decrease the thickness where it overlaps.
- Lash the rim in place with 11/64" flat/oval reed.
- Wrap the handle with 1/4" flat reed. You may do a decorative treatment with matching dyed reed as desired.
- Trim or singe the hairs of the basket.
I hope you enjoy this basket and give it a try, especially if you are new to weaving. If you are a new weaver, this basket is just for you! Follow along with the YouTube videos and it should be a snap. Please let me know when you have woven this or other baskets as I'd love to stop by your blog and see them!
Happy Weaving and Baskets of Blessings,
Nancy

1 comment:
You're work is beautiful. Way to go about being published on FaveCrafts.com! I loved your comments about Aleene! She's the best and so are you!
Post a Comment